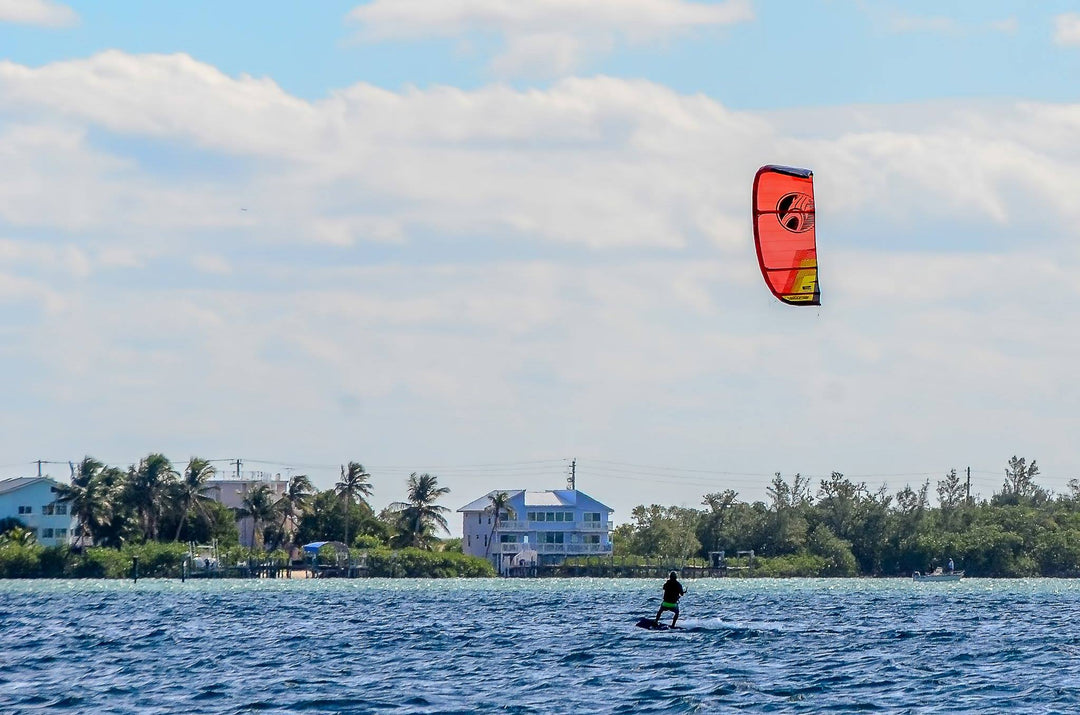


Proper Kite Set Up: Ensuring Safety and Performance
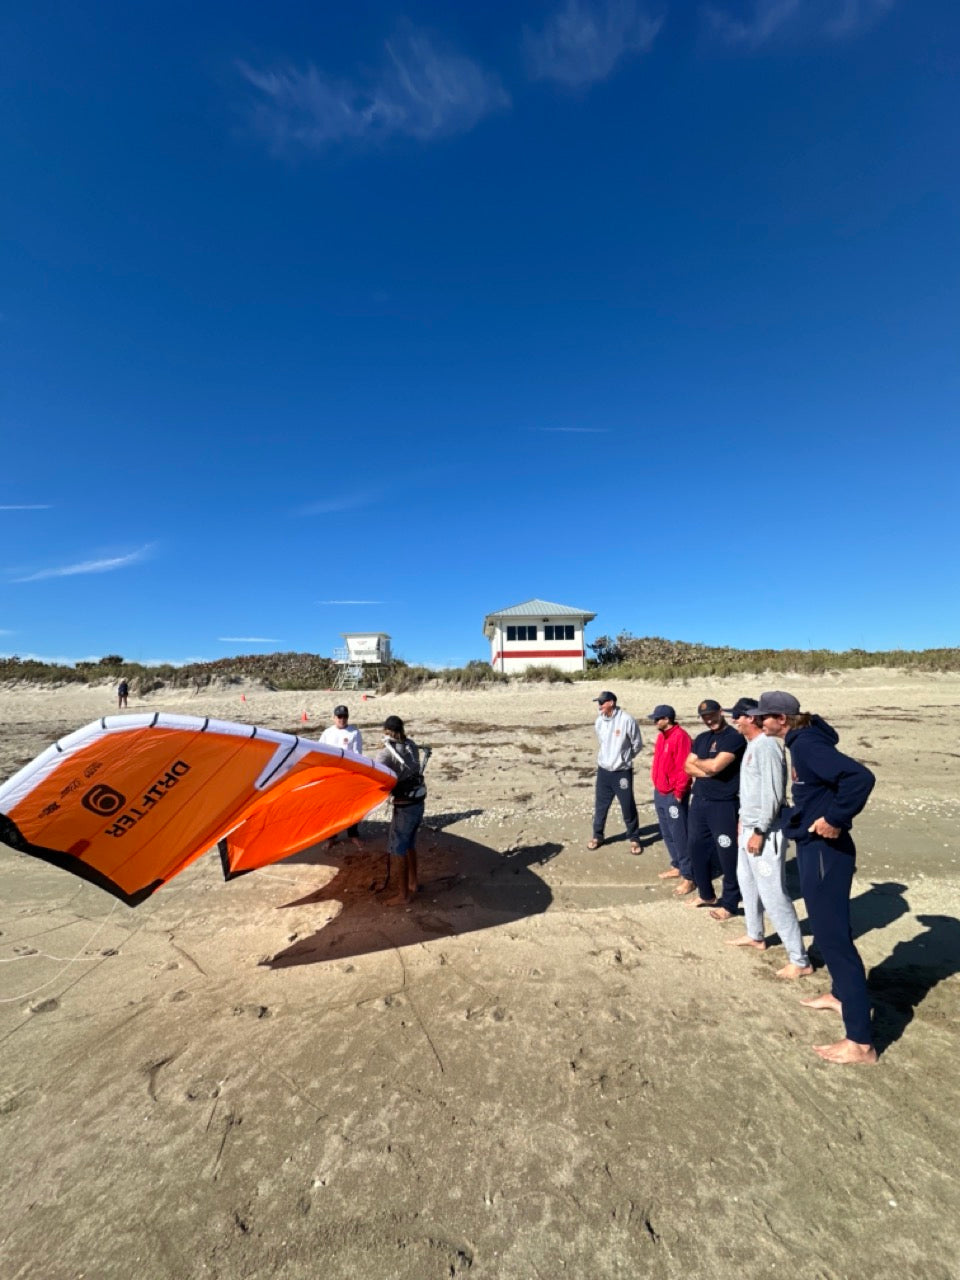
Start with the Right Kiteboarding Spot
1. Space: Choose a spacious area, free from obstructions like trees, buildings, and crowds. This will give you ample room to lay out and set up your equipment, and ensure an obstruction-free launch.2. Surface: A sandy beach or grassy area is ideal. These surfaces minimize wear and tear on your kite and reduce the risk of punctures.
Kite Layout
1. Unroll: Remove the kite from the bag and unroll it, leading edge facing upwards. Ensure the kite is fully extended with no folds.
2. Check for Damage: Before each setup, inspect the kite for any damage. Small tears or issues can escalate into significant problems when the kite is under pressure.
Need Kiteboarding Lessons? Book here for lessons in South Florida.
Connecting the Lines
1. Line Layout: Lay out your lines, ensuring they're fully extended and free of tangles or knots. The color-coded system on most bars will assist in determining the right lines for the left and right sides.
2. Attach Lines to Kite: Attach the lines to the kite’s bridles or pigtail attachments, ensuring that front lines (leading to the leading edge) and back lines (leading to the trailing edge) are correctly connected. Double-check to avoid inversions.
Pumping the Kite
1. Secure the Kite: Place some weight (like sand or a bag) on the kite's center to prevent it from blowing away during inflation.2. Connect Pump: Connect the pump hose to the kite's inflation valve. Ensure the deflation valve is closed.
3. Pumping: Inflate the kite until it’s rigid. Over-inflating can damage the kite, while under-inflating can cause it to behave unpredictably in the air.
4. Secure the Struts: Ensure that the struts (the smaller tubes running perpendicular to the leading edge) are inflated and secured.
Final Pre-Flight Checks
1. Check Lines Again: Ensure there are no tangles and that they run freely without obstruction.
2. Bar and Safety System: Familiarize yourself with the safety release mechanisms, ensuring they're accessible and functional.
3. Secure your Harness: Wear your harness, ensuring it's snug but comfortable. Connect the chicken loop from the bar to your harness.
4. Pre-Flight Test: Gently tug on the bar to raise the kite slightly. It should respond predictably, with the left and right sides corresponding to the bar's orientation.
Get a discount by signing up to our email list.
Tips for Beginners:
1. **Always Setup Downwind:** Your kite should always be downwind from you during the setup to ensure a safe launch.2. **Practice Makes Perfect:** The kite setup process might seem tedious initially, but with repetition, it becomes a natural and quick routine.
3. **Safety First:** If unsure about any aspect of the setup, ask. Whether it's a fellow kiteboarder or your instructor, it’s always better to seek advice than to risk an unsafe session.
Conclusion
Proper kite setup is paramount. Not only does it set the tone for your kiteboarding session, but it ensures that your equipment functions as designed, keeping you safe and letting you get the most out of your time on the water. Respect the process, double-check your work, and then enjoy the wind and waves with confidence.